The steps to properly clean your handgun depend on whether you are doing a field stripping or complete disassembly. We’ll cover basic field stripping in this article. Due to the variety of handguns, complete disassembly of the slide and/or frame aren’t within the scope of this article.
1. Completely Unload the Handgun
This is the most crucial step in the entire cleaning process. To ensure the safety of yourself and those around you, you must remove your magazine and any ammunition that may be loaded within the firearm. Only do this while pointing the firearm in a safe direction. Make sure you do a thorough check, visually (look) and tactilely (feel). Never rely on your firearm’s safety because accidents can and do happen.
2. Cleaning the Handgun
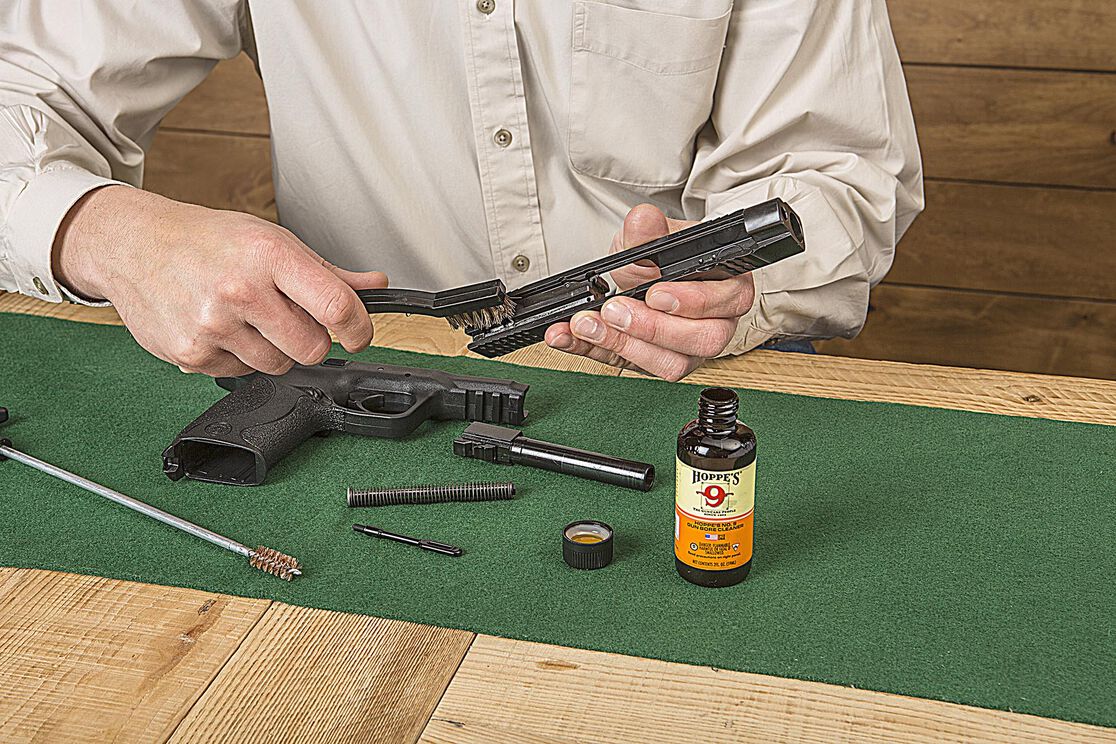
For semi-automatic pistols only, follow the manufacturer’s instructions for take-down and remove the slide from the frame. Take care to watch for bushings, springs or other small parts and set them inside a cup, can lid or other container to keep them from getting lost.
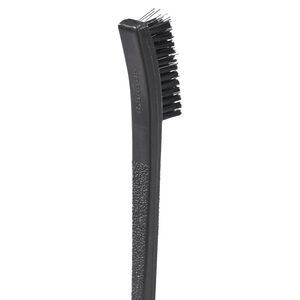
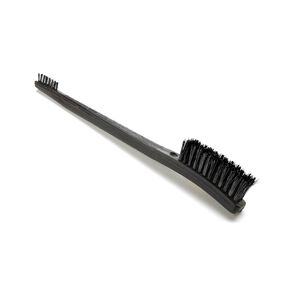
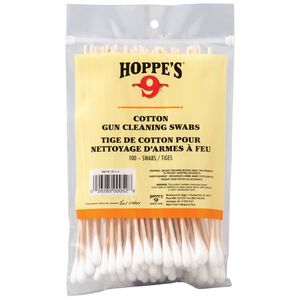
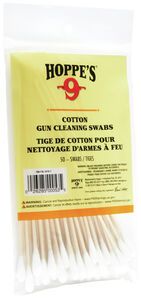
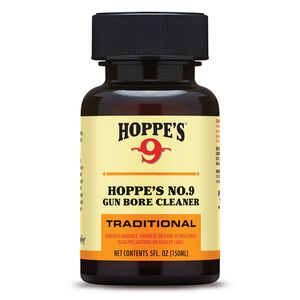
Using a cleaning tool, such as a utility brush or cleaning swabs, and remove any loose particles that may be found within the slide, cylinder (revolvers), frame and chamber. For carried handguns, check carefully for lint and dust/dirt inside frame areas. Heavy fouling can be removed with a light application of cleaner prior to brushing. Remove cleaned fouling with a wipe or cloth.
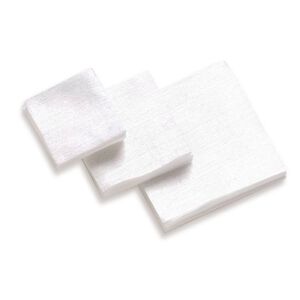
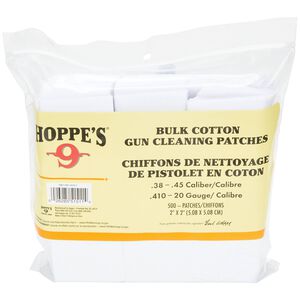
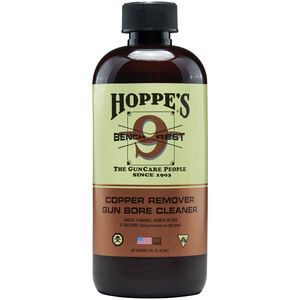
Moving onto the barrel, you’ll want to apply some bore cleaner on a cleaning patch, and using a cleaning rod with a jag, brush or patch holder tip run the patch through your barrel. A good way to tell how clean your firearm is getting is to monitor the amount of debris or residue that comes off as you swipe your patch through it. If using a brush tip, run it completely through the barrel before reversing to make sure it doesn’t get stuck. Follow up your bore cleaner soaked patch with several dry ones to make sure you’ve left your barrel clean and dry. Swabs are handy here because they can be used to clean hard-to-reach areas in the frame and slide to ensure you get your barrel/chamber as clean as possible. For badly fouled barrels and chambers, a heavier duty cleaner can also be used.
3. Apply Lubrication Where Necessary
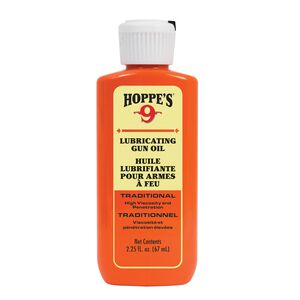
Once you’ve completely cleaned your slide, frame, barrel and chamber, you’ll want to properly oil/lubricate the moving parts of your firearm. This will depend on the type of firearm you are cleaning and recommended lubrication per the manufacturer. In most cases, you’ll want to lubricate:
- Bearing surfaces (metal-on-metal, slide, rails, guides)
- Outside surface the barrel (on semi-automatic handguns)
- Rails
- Springs
Do not apply lubricants to the inside of the barrel or chamber except for long-term storage. This can lead to high pressures when shooting and the potential for catastrophic (BOOM) failure. Lubricant on ammunition can lead to misfires or squibs.
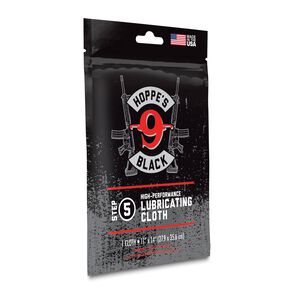
One common myth is that more is better when it comes to lubrication of your firearm. You want to adequately lubricate where needed, but too much can lead to excessive residues, which can lead to malfunctions and handling issues (slippery). Lubricating cloths are an excellent tool because they help control the amount of oil/lubrication being used in any given area of your gun.
Take a look at worn metal areas on bearing surfaces such as your slide, frame rails and barrel. On a well-used firearm you’ll see bare metal through the finish in some places. That’s not necessarily a problem as it means your firearm is adjusting itself to work more efficiently. Worn areas require light lubrication.
4. Wipe Down All Components
After you’ve cleaned and lubricated your firearm, wipe it down with a clean, dry cloth. This removes residue and oils/moisture from fingerprints that you may have missed in steps two and three. Once you’re done wiping down all components, you can use wax-treated gun cloths to help polish and protect your firearm.
5. Reassemble and Check for Any Irregularities
Once everything is cleaned, and wiped down, it’s time to start reassembling your handgun. During this process, you want to carefully inspect each piece as you put it together and make a note of any damage, irregularities, or excessive wear or play (movement). Occasional dents or scratches happen. Other damage not only hurts the value of your firearm but can lead to potential safety concerns. Should you find anything questionable in your inspection, we highly recommend you take it to a local firearms shop or competent gunsmith. They’ll do a closer inspection and advise you on how to move forward to ensure continued safety and reliability.
For long term storage of firearms, you can use this step to apply preservative oils and then utilize a storage system.
Remember to wipe down your hands and work surfaces after firearm cleaning with a cleaning cloth to remove lead and other heavy metal residues.
